Why photos catch what the scale misses
There’s a stretch in most GLP-1 journeys when the weekly number on the scale barely moves. It’s frustrating, and it’s also when progress photos earn their place. Your waist, face and the way clothes sit can keep changing through a plateau, and a photo from three months ago makes that obvious in a way your memory won’t.
Photos help with the mirror too. Many people on Ozempic, Wegovy, Mounjaro or Zepbound say they still see their old body when they look at themselves. A side-by-side of week 1 and week 20 can be the first time the change feels real.
Set up once, then repeat exactly
The difference between a useful progress photo and a misleading one is consistency. Change the light or the angle and the same body can look noticeably slimmer or heavier. Setting up a “photo spot” the first time saves you from guessing later:
| What to fix | What works |
|---|---|
| Place | A plain wall with nothing behind you that changes |
| Light | Facing a window, or the same room lights every time. No flash into a mirror |
| Camera | Propped at chest or hip height, about 4 feet away, on a 10-second timer |
| Framing | Your whole body in frame, head to feet. Mark where you stand with tape on the floor |
| Clothes | The same fitted outfit each time: shorts and a sports top, or underwear |
| Time | Morning, after the bathroom, before food or drinks |
| Pose | Front, side and back. Arms relaxed, standing tall, normal breath |
The side view often shows the most change around the stomach. If you’d rather not keep your face in the photos, crop it out before you add them; what matters is the body.
How often, and how to look at them
Every two to four weeks is enough. Week to week the change is too small to see, and a pile of near-identical photos tempts you to nitpick. Take a set on the same day you weigh in, so the photo carries your weight.
When you compare, look further back than last time. If this month looks the same as last month, put it next to month one instead. Be honest, and kind. And if progress photos make you feel worse rather than better, it’s fine to skip them and lean on the tape measure instead.
Take the first one even if you don’t want to look at it yet. Nobody regrets having a week 1 photo; plenty of people regret skipping it.
Before and after in Mingo
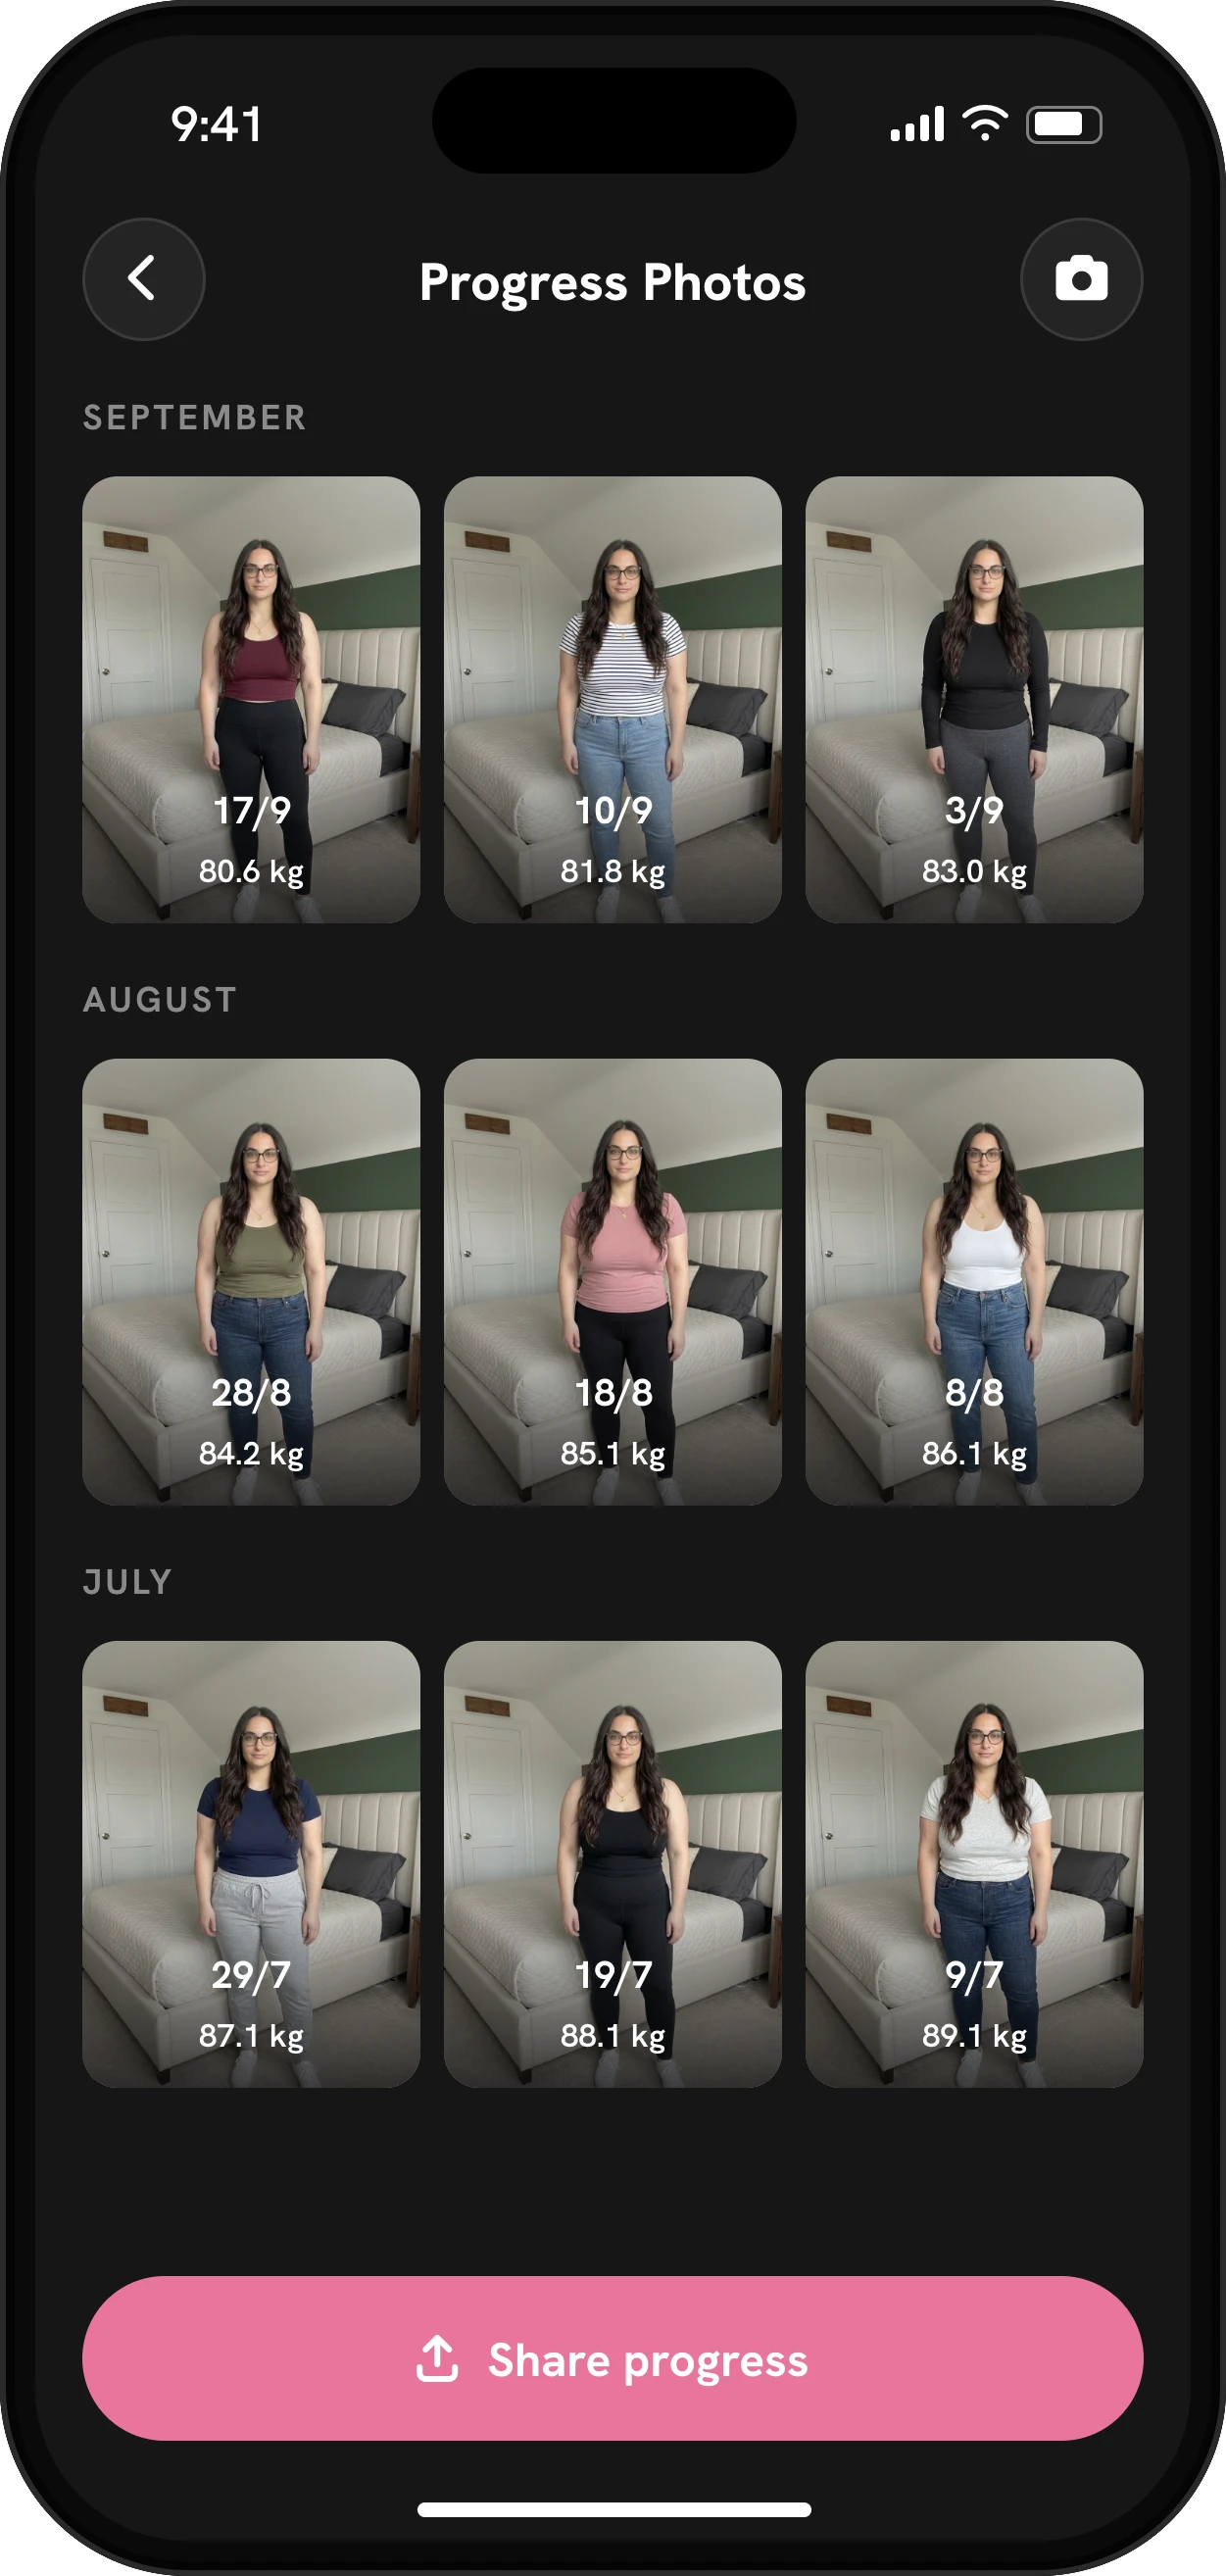
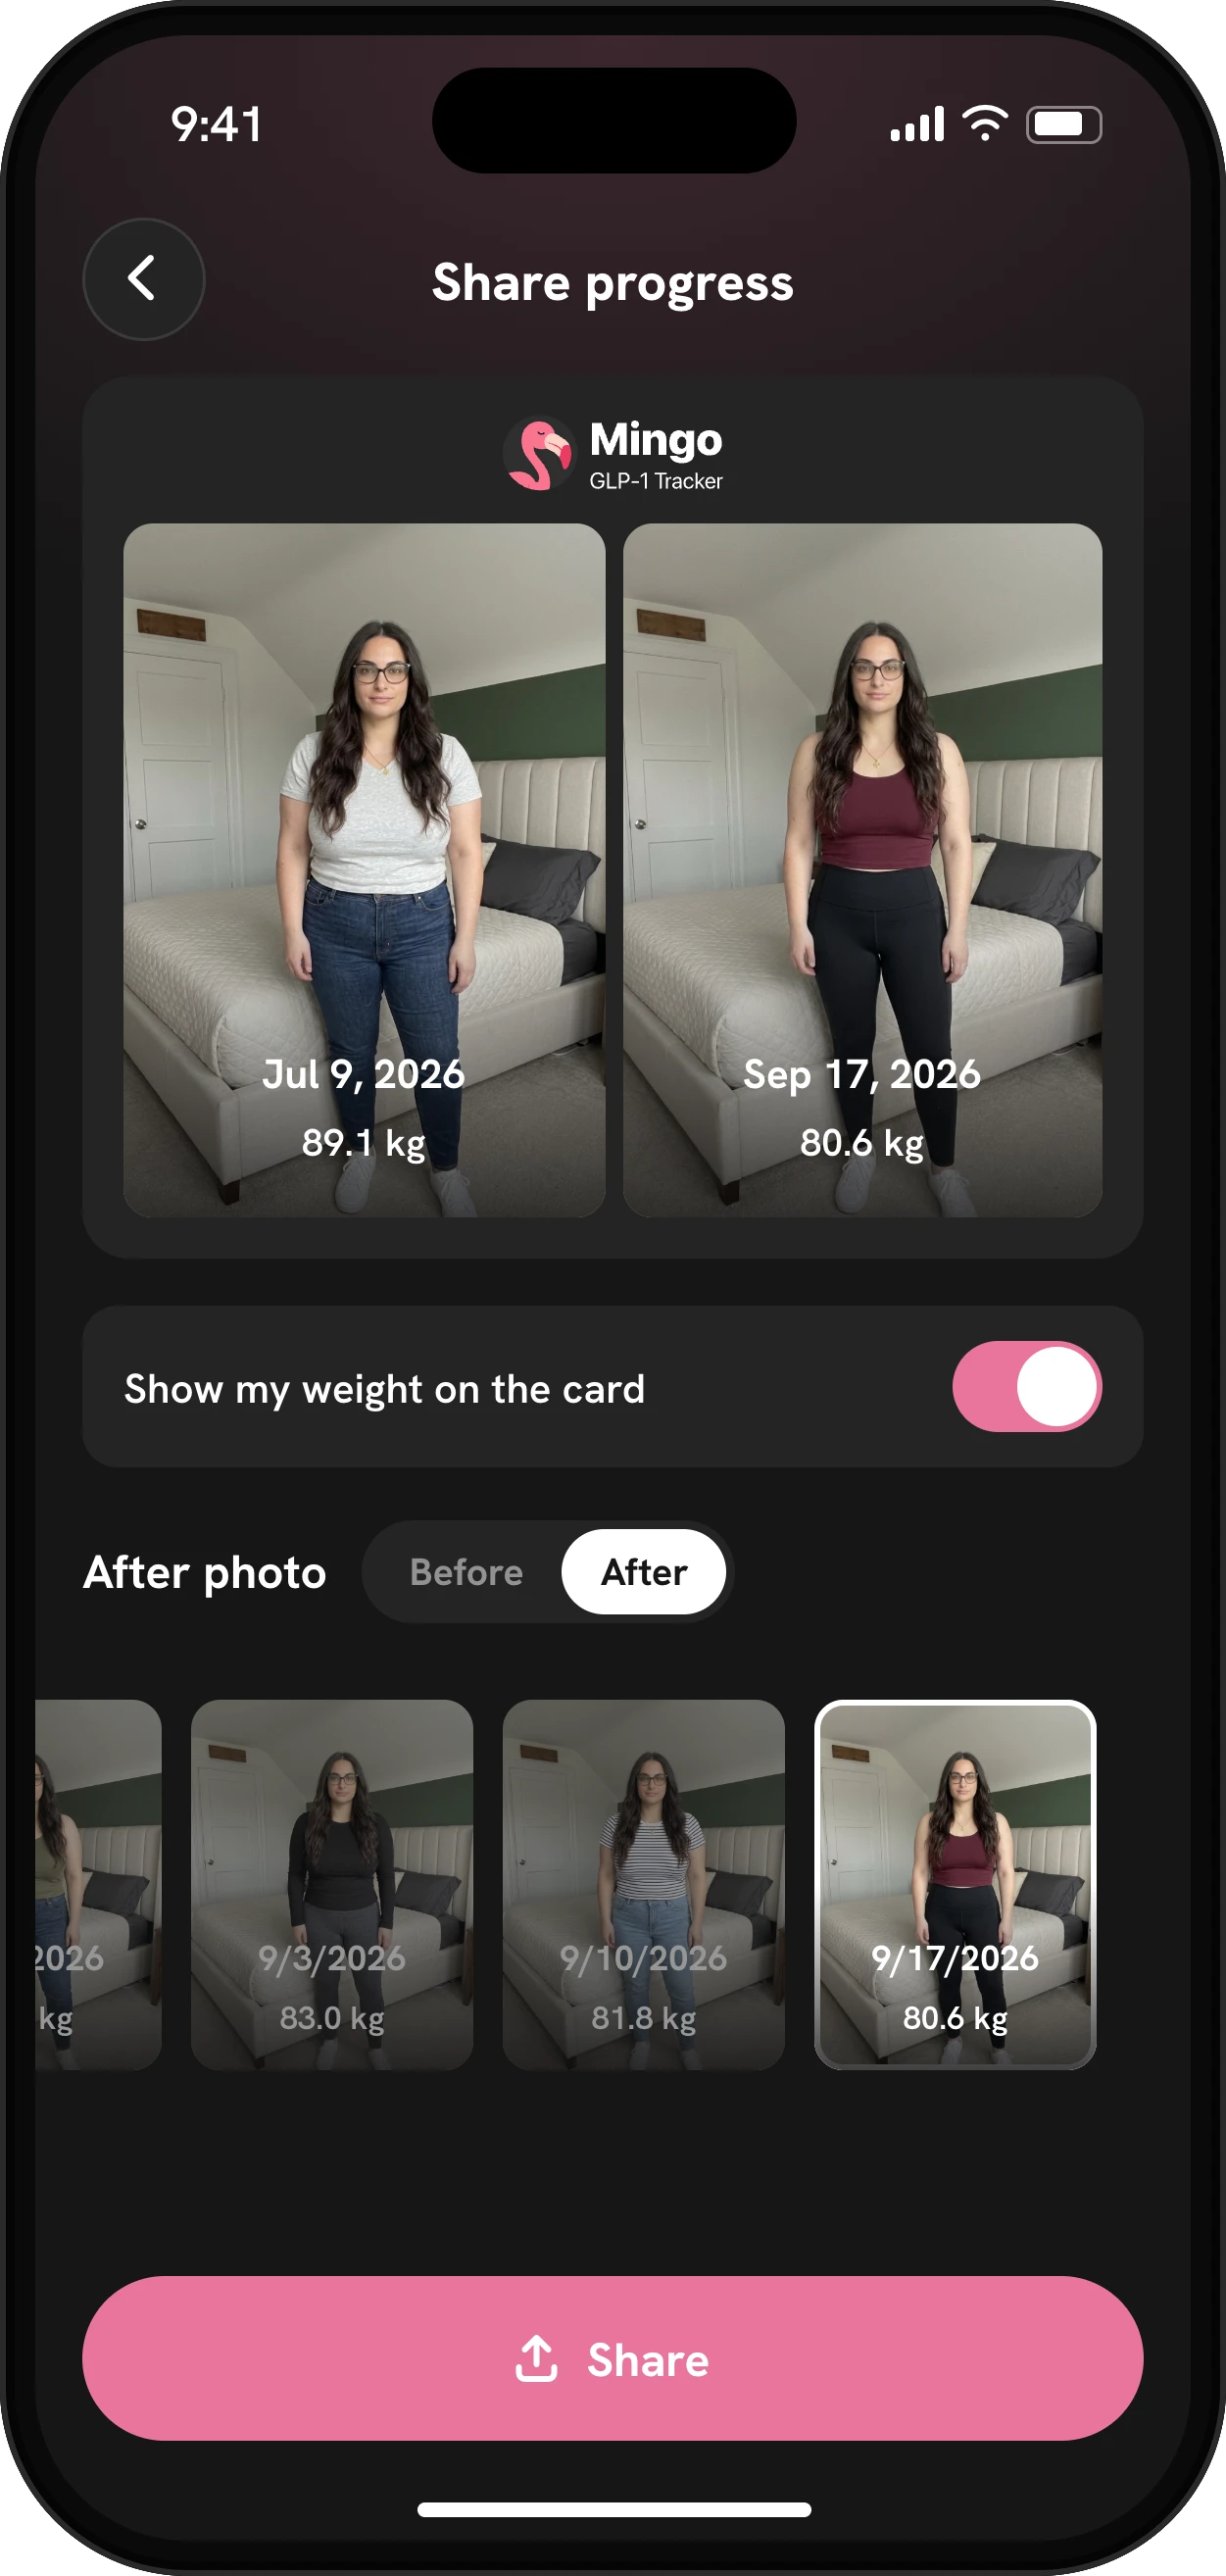
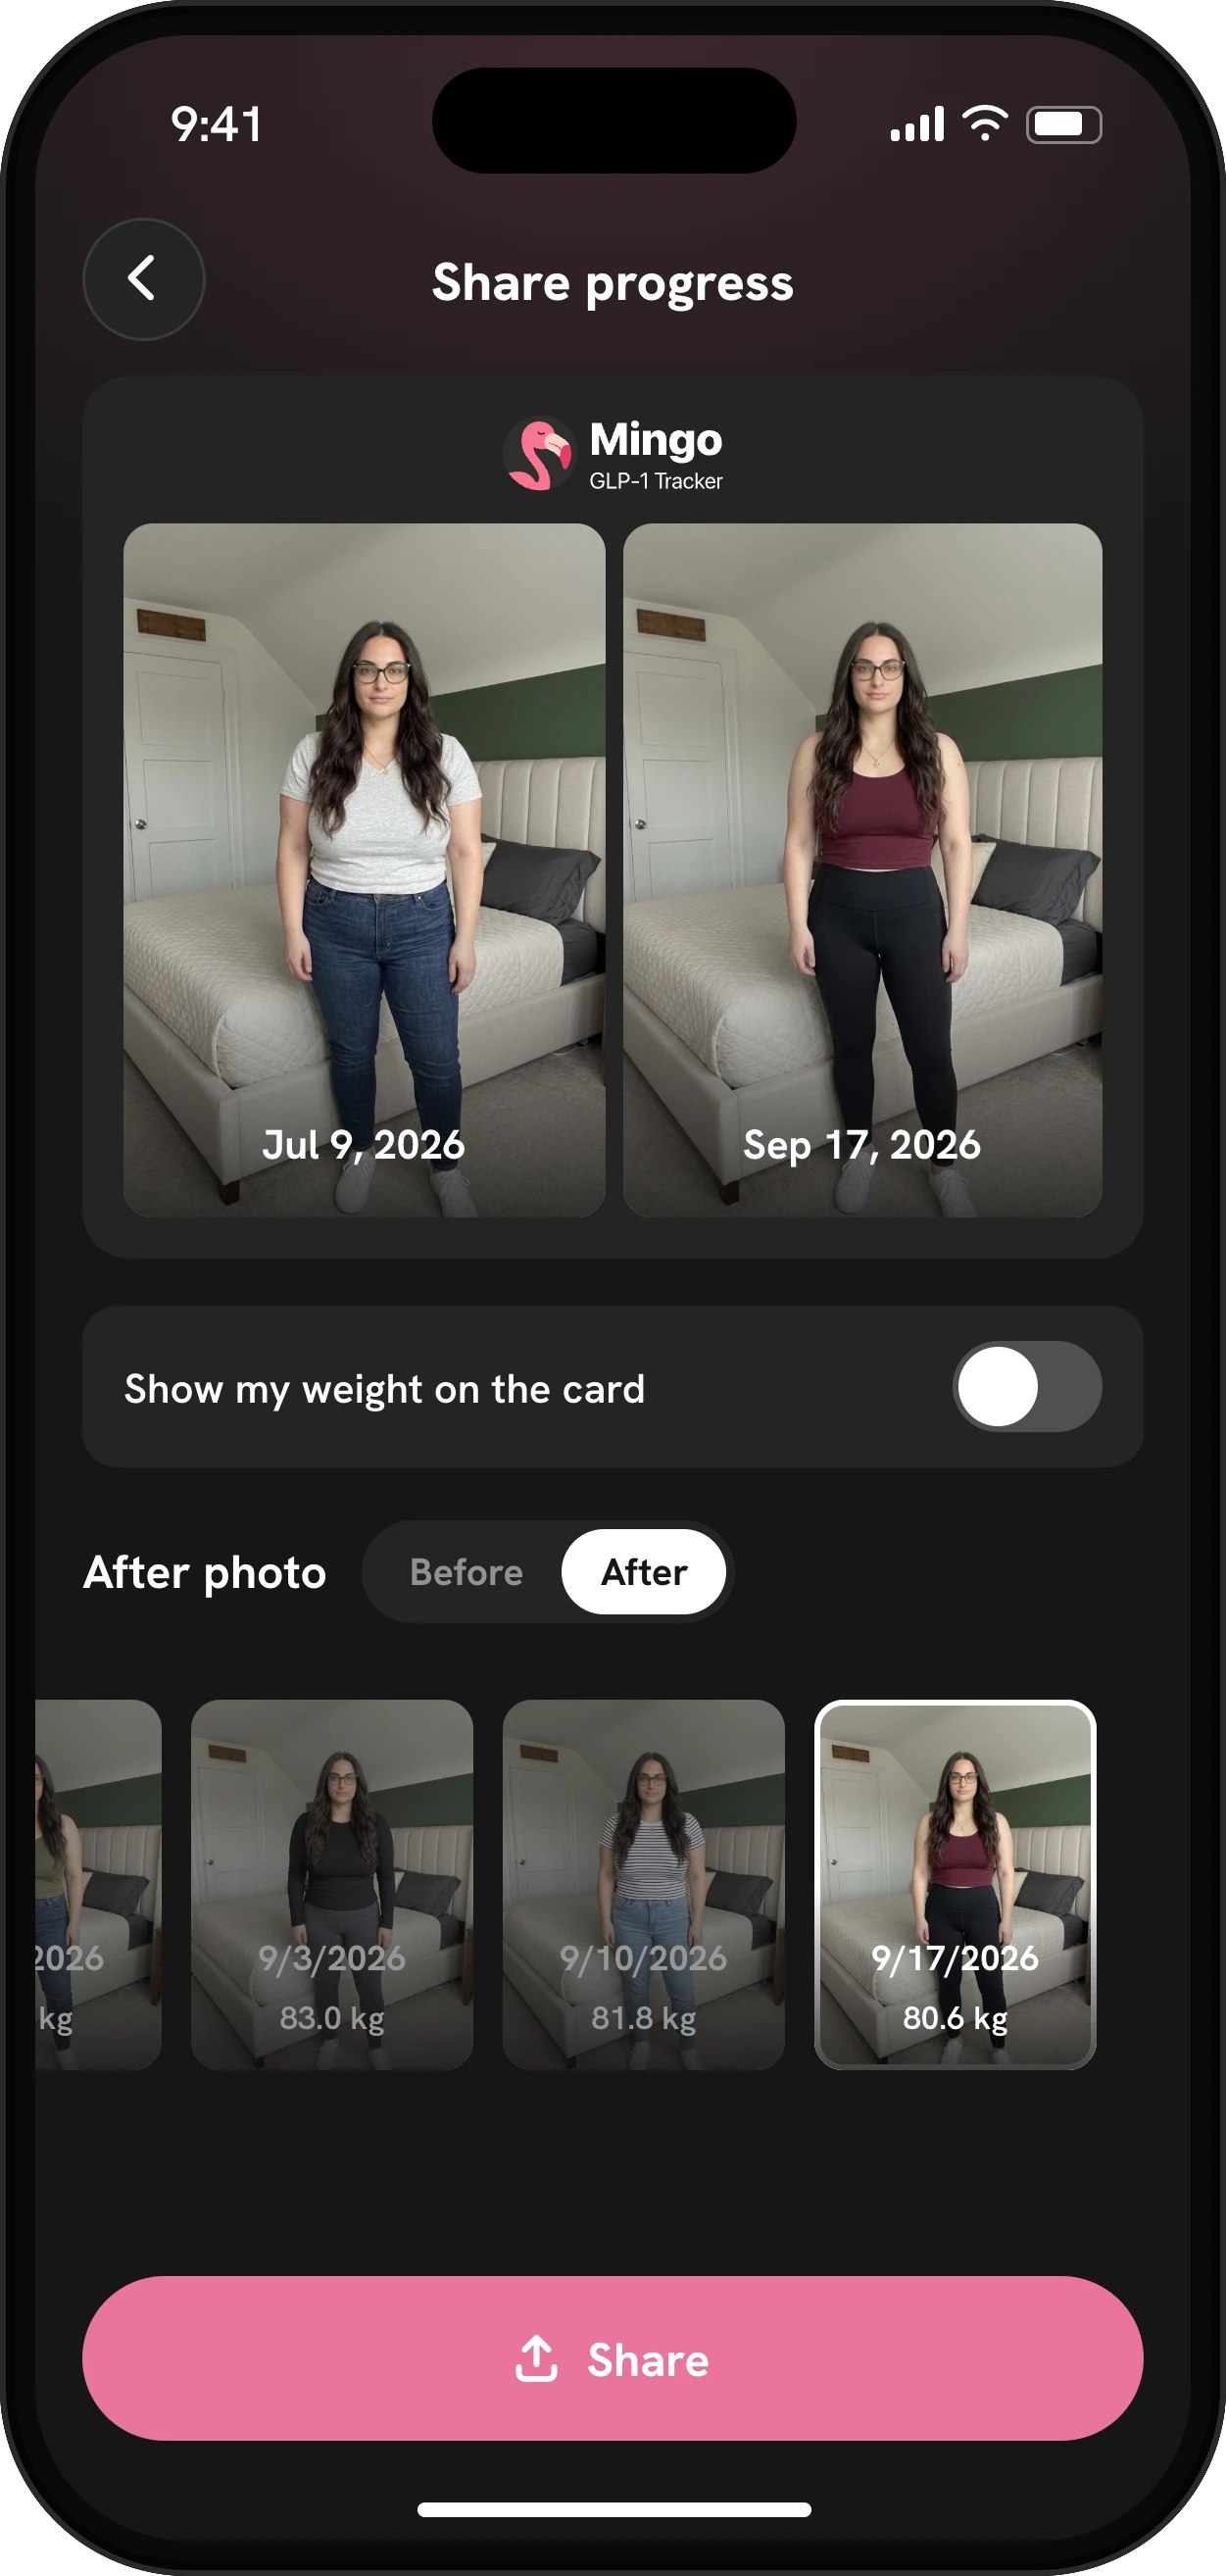
Your photos sit on the Home screen and in a full gallery, newest first, each with its date. Tap Compare, pick a before and an after, and Mingo puts them side by side with the date and weight under each. That’s the view people screenshot, so Mingo makes it a shareable card, with a switch to hide the weight when you’d rather not show the number.
To put the change into a number as well, the weight loss percentage calculator works out what percent of your starting weight you’ve lost, the same measure the trials report.
A transformation video in a few taps
Once you have at least two photos, Mingo can turn them into a short video. Pick up to 12 and Mingo builds the frames and renders a video of about 15 seconds, the length of one Story. If your photos carry weights, the change shows on each frame. Share it, save it, or keep it for yourself for a bad day.
Private by default
There’s no account to sign up for, and your photos are kept in Mingo on your phone, not in a public profile or a shared camera roll album. Nothing leaves the app unless you tap Share or Save. If you do want to share your journey, the share your progress page shows the cards you can make.
Photos, measurements and weight together
Photos are one of three ways Mingo tracks your body. The weight tracker colors your weight by the dose you were on, and body measurements track your waist, hips and six other spots. When one of them stalls, the other two usually tell you whether you’re still moving. How your clothes fit counts too, even if no app records it.
Mingo is a tracker, not medical advice.

